Increasing reporting capabilities from Planning Analytics using Cognos Analytics
As Planning Analytics has evolved over the past couple of years and especially since Planning Analytics Workspace has been around, the reporting aspects of Planning data have been emphasised to a greater degree. However, for several years you have been able to report using the BI suite of products over Planning Analytics (formerly TM1) data.
In my mind, Cognos Analytics and Planning Analytics are a dynamic duo, like Batman and Robin, Fish and Chips, Tea and Biscuits etc.
There are several benefits of utilising Cognos Analytics for reporting over Planning Analytics data such as:
- Larger number of visualisations available for use.
- Greater flexibility in scheduling and distribution of reporting.
- Ability to incorporate content from multiple cubes into the same report.
- Greater presentation capabilities overall.
In this article, I take the standard demo database ‘retail24’ and make it available for use in Cognos Analytics.
For the technically minded, I am using Cognos Analytics 11.1.7 Fix Pack 1 and Planning Analytics 2.0.9 Fix Pack 3 and the standard Retail24 application which I have initially converted to using CAM security instead of Native security.
This whole process can be completed in a few minutes and once complete it will open all the possibilities of reporting Planning Analytics data natively in Cognos Analytics.
Part 1 – Setup the Cognos Analytics Data Server Connection
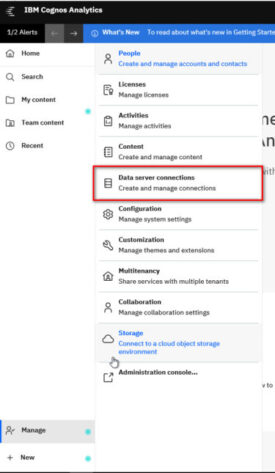
In order to setup a data server connection, you need to navigate to the Manage menu and choose ‘Data Server Connections’.
Create a new ‘IBM Planning Analytics’ connection, in my example I have called it 24Retail. Specify the connection details by entering the Database Host (The Planning Analytics Server name), the port number and choose the authentication option ‘Use an external namespace’.
The HTTP Port Number required can be found in the tm1s.cfg file of the Planning Analytics Server. It must be specified to be able to use the Data Server Connection.
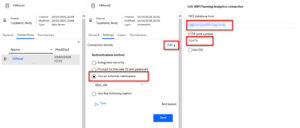
Once you have configured the connection you must test it. Press the Test button and wait for a success message. If your connection tests successfully then progress to setup the Framework Model in Part 3.
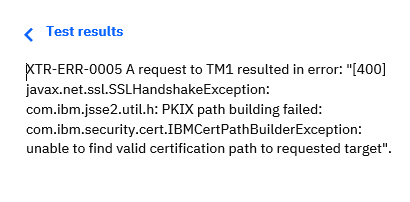
When testing the connection if you get the error message below this will be due to the Planning Analytics server needing to communicate via SSL. Check the TM1s.cfg for the line UseSSL and if it is set to ‘T’ then you need to follow the instructions in Part 2.
Part 2 – Configuring Cognos Analytics to use Planning Analytics Certificates
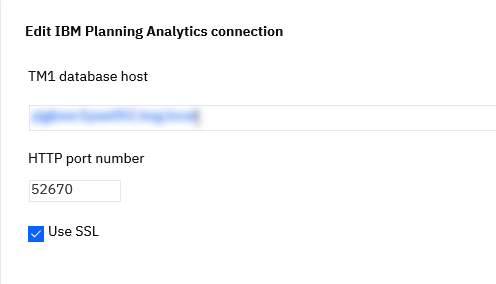
The first thing we need to add is to ensure that the Data Server Connection has the Use SSL checkbox checked as shown.
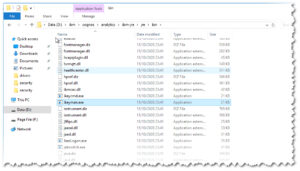
Navigate to the Planning Analytics server and to the directory < PA install location> \bin64\ssl and copy the ibmtm1.arm file to the Cognos Analytics server. You can copy the file anywhere, but I recommend creating a directory for it in the installation location.

In order to import this certificate we use an executable on the Cognos Analytics server called ikeyman.exe which resides in the <CA install location> \ibm-jre\jre\bin directory. Simply double click this file to open it.
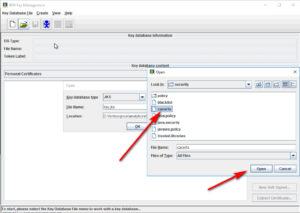
Click the Open icon on the toolbar, ensure the Key Database type is set to JKS, navigate to the directory <CA Install Location> \ibm-jre\jre\lib\security, and open the file called cacerts.
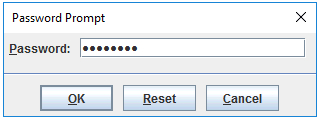
You will be prompted for a password, the default password is changeit
Now you have loaded the certificate file it’s time to import the Planning Analytics certificate. Under the ‘key database content’ section change the drop-down value to ‘Signer Certificates’ and press the ‘Add’ button.
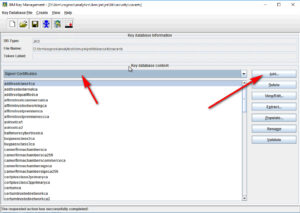
Navigate to the location you copied the ibmtm1.arm file on the Cognos Analytics server and press OK

.
Finally, give the certificate a name that you will remember. In this example, I have called mine PAServerCert.
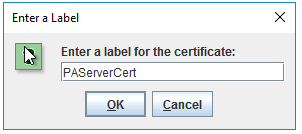
The certificate should now be listed in the Key Manager tool. Save the cacerts file and exit Key Manager.
Return to your Data Server Connection and retest it. The test should now be successful and the communication between Cognos Analytics and Planning Analytics is using SSL.
Part 3 – Creating a Framework Model
My preferred way of doing this is to create a new Framework Manager Model and import multiple reporting cubes into it. That way you can have multiple cubes in a package and this gives you more reporting flexibility.
Start by Opening Framework Manager, create a new Framework Model and simply leave it blank.
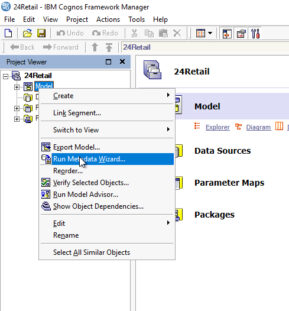
Next, run the metadata wizard as below in Framework Manager.
Choose ‘Data Sources’ as your Metadata Source.
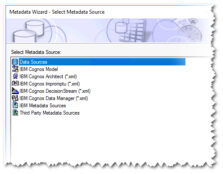
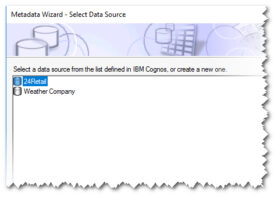
Select the Data Server Connection you created earlier.
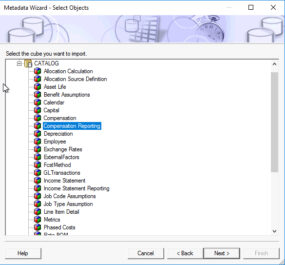
Choose a Cube.
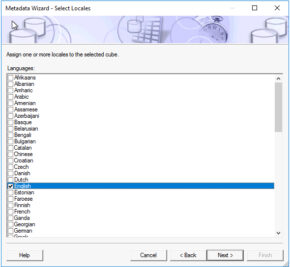
Select your language.
Click Finish to complete importing the cube into the Framework Model. If you want to import more than one cube then uncheck the ‘Create a default package’ and keep looping through the ‘Run metadata wizard’ routine adding each cube.
Part 4 – Creating and Publishing Packages
Now you have imported all the cubes that you want to use in your Framework Model the final step is to create the relevant packages and publish them. This process is very straightforward and is covered in the screenshots below.
First, create a new Package and name it. My example is the same name as my cube as I wanted to bring just one cube at this time. Once you have named the package press Finish.
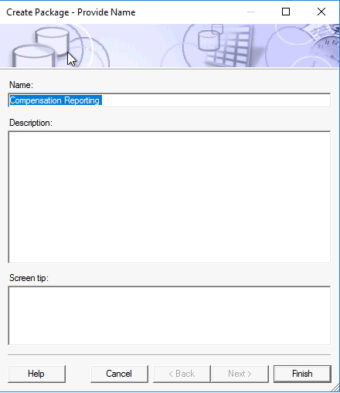
You will then be asked if you would like to publish the package. Choose Yes.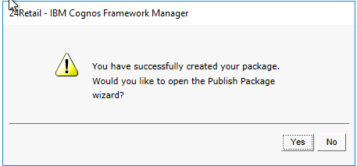
Specify the location in Team Content where you would like the Package to be published.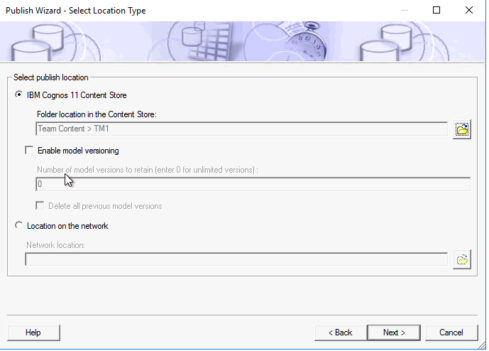
Select the Cubes that you wish to include in the Package.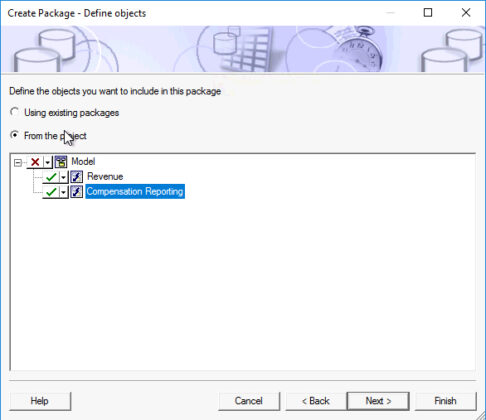
Add any Cognos Roles that you specifically need user access or admin access for. I generally leave these with no security defined.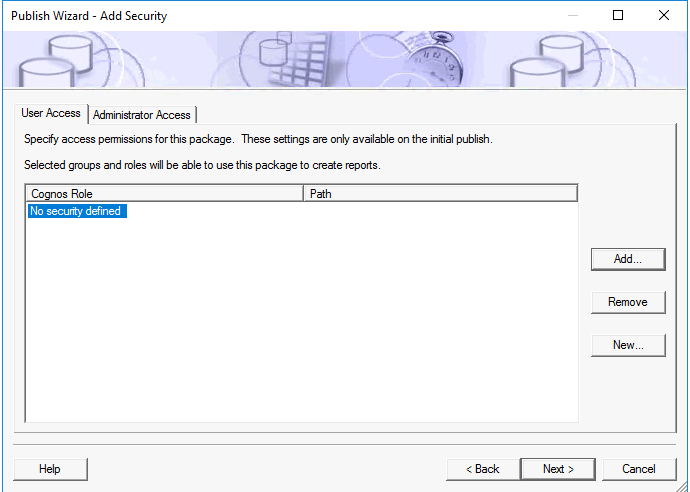
Click Publish on the next screen and your package will be published.
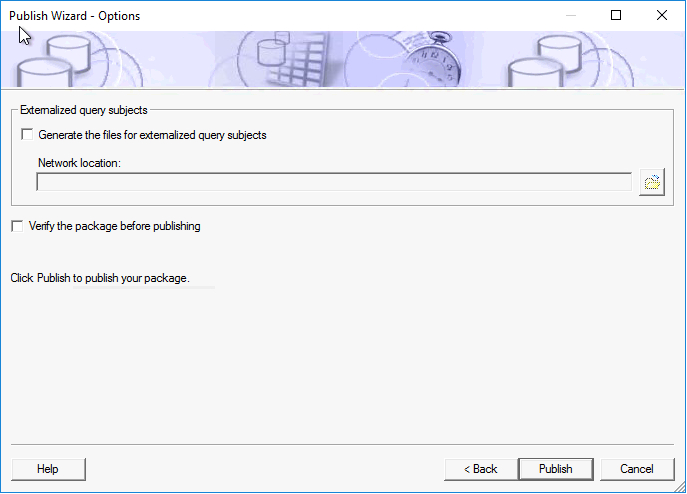
Now press finish to exit the wizard. Congratulations, you now have the capabilities to use Cognos Analytics to create reports, dashboards, stories and other content over your Planning Analytics data.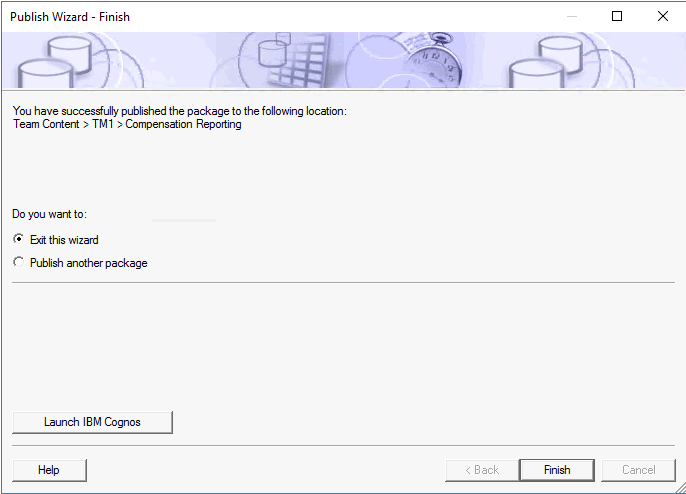
Your challenge now is to create some fantastic-looking content on Cognos Analytics and show us what you are capable of. If we like it, we might even send you some Sempre Analytics swag
Cognos version 11.1.x reached the end of support on April 30, 2024. It’s time to upgrade for enhanced performance and security.
With the release of version 12, it’s even more important for organisations to ensure they’re on a supported long-term release version of Cognos Analytics


